
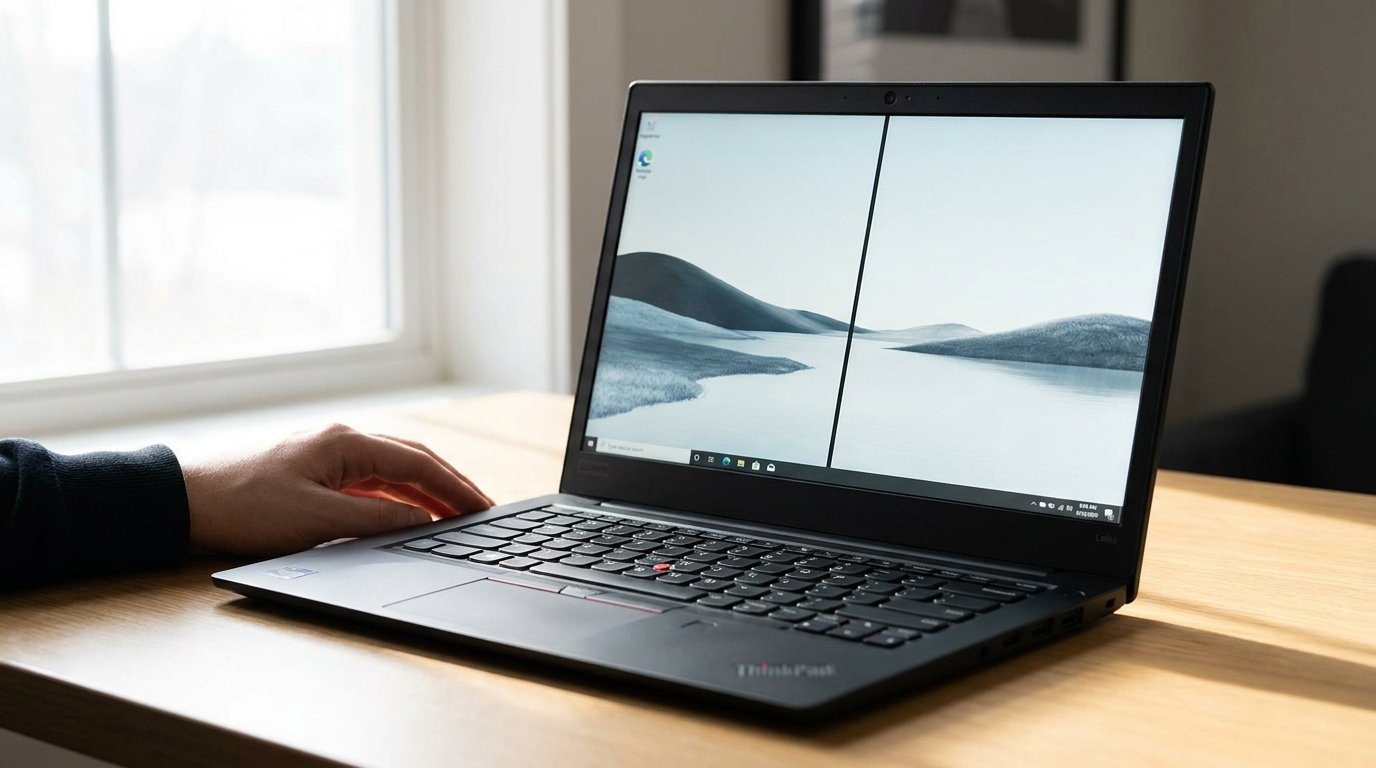
Seeing black lines suddenly appear on a Lenovo laptop screen is stressful, especially when you are in the middle of work, study, or a video call. The lines may be thin or thick, they may run across the screen or from top to bottom, and they may stay in one place or flicker on and off. The good news is that not every black line means the screen is dead. Some lines come from a small software problem that you can fix in a few minutes, while others point to a damaged display panel or a loose cable that needs a proper repair.
This guide explains why black lines appear on Lenovo laptops, how to find out whether the problem is software or hardware, and what you can do about it step by step. It covers popular Lenovo families such as IdeaPad, ThinkPad, Yoga, Legion, and LOQ, because the basic logic is the same across all of them.
What Do Black Lines on a Lenovo Screen Usually Mean?
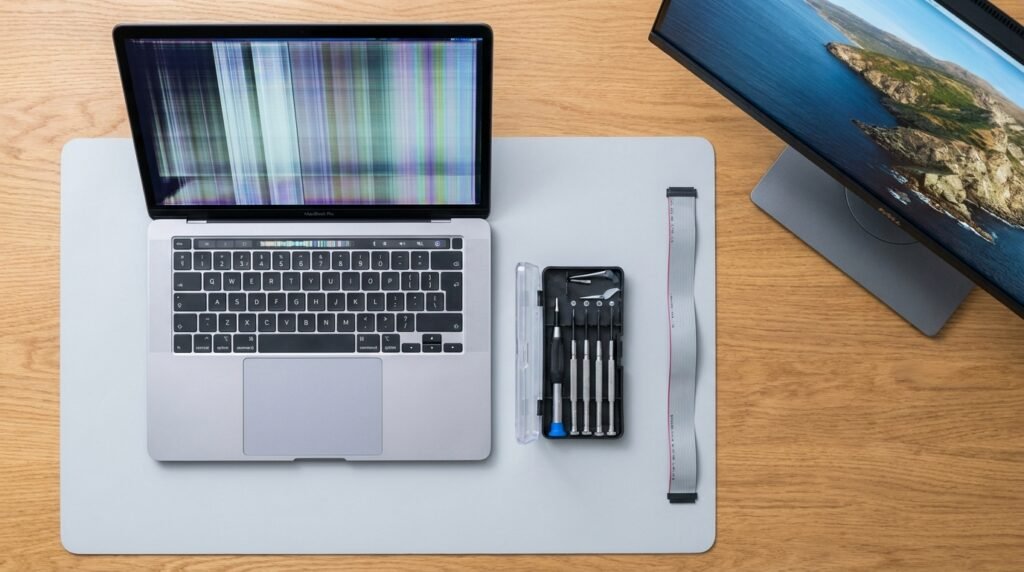
A laptop screen is made of a liquid crystal panel, a backlight, a thin display cable, and a graphics system that sends the picture. A black line means that a row or column of pixels is not receiving the right signal or has stopped working. Because several parts work together to create the picture, the line can start in different places, and the way it looks often gives a useful clue.
A thin line that is perfectly straight and stays in the same position usually means a failed row or column inside the panel itself. A thick black band or a growing dark patch often points to physical pressure damage or a leaking panel. Lines that appear and disappear when you move the lid usually suggest a loose or worn display cable. Lines that show up only in certain apps, games, or after waking from sleep are more likely to be related to the graphics driver or the display settings.
Common Causes of Black Lines on Lenovo Laptop Screens
Outdated or Corrupted Display Drivers
The graphics driver is the software that tells the screen what to draw. After a Windows update or a failed driver installation, the driver can become unstable, and the result may be flickering, colored streaks, or black lines. This is one of the most common causes of lines that do not look permanent, and it is also the easiest one to fix.
Wrong Resolution or Refresh Rate
If the resolution or refresh rate is set to a value that the built-in display does not support well, the image can look stretched, blurry, or broken by lines. This sometimes happens after connecting an external monitor or after a game changes the display mode and does not restore it properly.
Loose or Damaged Display Cable
Inside the laptop, a thin flat cable runs from the motherboard through the hinge area to the back of the screen. Each time you open and close the lid, this cable bends slightly. Over the years it can wear down or come loose, which causes lines, flickering, or a screen that works only at a certain lid angle.
Physical Pressure or Impact Damage
Pressing on the screen, closing the lid with a small object such as a pen or earphone case on the keyboard, dropping the laptop, or carrying it in a tightly packed bag can damage the liquid crystal layers. The damage may not show a crack on the outside, yet a black line, a black spot, or a spreading dark area can appear right after the incident or a few days later.
A Failing LCD Panel
Even without any accident, panels age. Heat, long use, and small manufacturing weaknesses can cause pixel rows to fail over time. A line caused by an aging panel often starts thin and slowly becomes wider or is joined by more lines, which is why early action is wise.
Graphics Hardware or Motherboard Problems
In less common cases, the problem sits on the graphics chip or the motherboard connections. This is more likely when the lines also appear on an external monitor, or when the laptop shows other strange behavior such as random restarts or visual glitches that look like scrambled blocks.
The Easiest Way to Tell Software Problems from Hardware Problems
Before you try any repair, it helps to run a few simple tests. These tests take only a few minutes, and they tell you where to focus your effort so that you do not waste time or money.
Test 1: Take a screenshot. Press the Windows key, Shift, and S together, capture the screen, and then open the saved image on the same laptop. If the black line does not appear in the screenshot, the picture the computer creates is fine and the problem is in the physical screen, the cable, or the panel. If the line does appear in the screenshot, the problem is in the software or the graphics system.
Test 2: Check the Lenovo logo or BIOS screen. Restart the laptop and watch the first screen that appears, which usually shows the Lenovo logo. You can also enter the BIOS setup by pressing the key shown on the startup screen, often F2 or Enter, depending on the model. Many Lenovo models also have a small Novo button or pinhole near the power button that opens a startup menu. If the lines are visible before Windows even loads, the cause is almost certainly hardware.
Test 3: Connect an external monitor. Use an HDMI or USB-C cable to connect a TV or monitor. If the external display looks perfectly clean while the laptop screen still shows lines, the built-in panel or its cable is at fault. If the same lines appear on the external display, the graphics driver, the graphics chip, or the system settings are the more likely cause.
Test 4: Gently flex the lid. Slowly open and close the lid a little while watching the lines. If the lines change, flicker, or disappear at certain angles, the display cable is the most likely culprit. Do this carefully and never press on the screen itself.
How to Fix Black Lines on a Lenovo Laptop Screen
If your tests suggest a software cause, the following fixes are worth trying in order, from the simplest to the more detailed.
Step 1: Restart the Graphics Driver and the Laptop
Press the Windows key, Ctrl, Shift, and B together. The screen will blink for a moment, and Windows restarts the graphics driver without closing your open files. If the line is only a temporary glitch, it may vanish right away. Then do a normal restart, and if you suspect a stuck power state, shut the laptop down completely, unplug the charger, and hold the power button for about ten seconds before starting it again.
Step 2: Check Resolution and Refresh Rate
Right-click the desktop, open Display settings, and make sure the resolution is set to the one marked as recommended. Then open Advanced display settings and confirm that the refresh rate is one of the standard values supported by your screen. If you recently used an external display, disconnect it and restart the laptop to clear any leftover settings.
Step 3: Update the Display Driver
Open Device Manager, expand Display adapters, right-click your graphics adapter, and choose Update driver. For the most reliable result, use Lenovo Vantage, the Lenovo support website for your exact model, or the graphics maker’s official website to download the correct driver. Laptops with both integrated and dedicated graphics, such as many Legion and some IdeaPad models, may show two adapters, and it is useful to update both.
Step 4: Roll Back or Reinstall the Driver
If the lines started right after a driver or Windows update, open the adapter’s properties in Device Manager and choose Roll Back Driver if the button is available. If it is not available, uninstall the driver and restart the laptop so Windows installs a fresh basic version, and then install the latest official driver from Lenovo or the graphics maker.
Step 5: Run Lenovo’s Built-In Diagnostics
Lenovo provides diagnostic tools, such as the Lenovo Diagnostics option in Lenovo Vantage and hardware tests available from the startup menu on many models. These tests can check the display and other parts and give you an error code that Lenovo support can use. A failed display test is strong evidence that the problem is physical rather than software related.
Step 6: Update Windows and the BIOS
Install pending Windows updates, because they sometimes include display fixes. If your model has a newer BIOS or firmware update on the Lenovo support page, read the release notes carefully and install it only with the charger connected and without interruption.
When the Problem Is Hardware
If the lines appear in the screenshot test as absent, show up in the BIOS or at startup, or remain after you update everything, the problem is physical. At that point, repeating software fixes will not help, and the safest step is to move toward a repair.
Check your warranty first. Lenovo laptops come with a limited warranty that differs by model, country, and purchase date, and some buyers also add extended coverage or accidental damage protection. You can enter your serial number on the Lenovo support website to see exactly what coverage you still have. A manufacturing fault inside the warranty period is often repaired at no cost, while damage caused by pressure or drops usually is not covered unless you have accidental damage protection.
Understand the likely repair. A loose or worn display cable is a smaller repair, because a technician can reseat or replace it. A damaged panel normally needs a full screen replacement, and the cost depends on your model, screen type, resolution, and whether the screen includes a touch layer. A high-resolution or OLED panel on a premium model is usually more expensive than a basic panel on a budget model, so ask for a written quote before you agree.
Use a trusted repair service. An authorized Lenovo service center is the safest option for newer laptops, especially if warranty is still active. For older models, a reputable local repair shop can often replace the panel for a lower price, but make sure they use a compatible part and offer a short guarantee on their work.
Temporary Workarounds While You Wait for Repair
If you cannot repair the laptop right away, you can still keep working. Connecting an external monitor is the most practical solution, because the laptop itself usually continues to run normally even when the built-in panel has a fault. Lowering the screen brightness slightly may make a thin line less noticeable on some panels, though it will not fix the damage. Avoid pressing on the screen or squeezing the lid, since extra pressure can make a damaged panel worse and turn a thin line into a much larger problem.
How to Prevent Black Lines on Your Lenovo Laptop
Prevention comes down to gentle daily habits. Close the lid only when the keyboard area is clear of pens, cables, and earphone cases. Carry the laptop in a padded sleeve and avoid stuffing heavy items against the lid in a backpack. Hold the screen by its frame instead of the middle when you move the laptop, and open the lid from the center instead of one corner to reduce stress on the hinge area. Keep your drivers and Windows updated, avoid blocking the air vents so the laptop does not overheat, and do not leave it in a hot car, because heat can weaken the display parts over time.
Frequently Asked Questions
Can black lines on a Lenovo screen go away on their own? Lines caused by a software glitch or a temporary driver problem may disappear after a restart or a driver update. Lines caused by panel or cable damage normally do not go away by themselves, and they can slowly get worse.
Does a line that is missing from a screenshot mean the laptop is broken? It means the problem is in the physical display path, not in the image created by Windows. The cause could be a cable, a panel, or the connection to the motherboard, so a proper inspection is the next step.
Is it safe to keep using a laptop with a black line on the screen? The laptop usually keeps working, but a line caused by damage can spread. Backing up your important files soon is a good habit, and using an external monitor is a safer way to work until the screen is repaired.
Will a factory reset remove black lines? A reset only helps if the cause is a deep software or driver problem. If the line is visible in the BIOS or on the startup screen, a reset will not change it, so back up your data before choosing this option only when you have strong reasons to suspect software.
Should I replace the whole laptop or just the screen? For a newer laptop with good performance, replacing the screen is usually the more sensible choice. For a very old laptop with other problems, such as a weak battery and slow storage, you may want to compare the repair quote with the price of a new device.
Final Thoughts
Black lines on a Lenovo laptop screen are frightening at first, but a calm step-by-step approach makes the problem much easier to understand. Start with the screenshot test, the startup screen check, and the external monitor test, because these three checks quickly separate software problems from hardware ones. If the cause is software, a driver restart, a resolution check, and a clean driver update solve most cases. If the cause is hardware, protect your data, check your warranty, and choose a trusted repair service instead of risking more damage by trying risky fixes at home. Acting early gives you the best chance of keeping the repair simple and affordable.
Disclaimer
This article is provided for general information and educational purposes only. Laptop models, drivers, menus, and warranty terms differ between Lenovo products and regions, so some steps may look different on your device. Repairs involving opening the laptop can damage the device or void your warranty, so they should be handled by a qualified technician. Repair costs and coverage mentioned in general terms may change, so always confirm details with Lenovo support or an authorized service provider before you make a decision.